

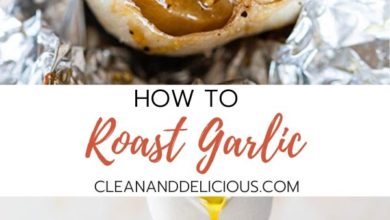
This tutorial will give you easy to follow instructions and tips for how to roast garlic. As garlic cooks it becomes buttery with a delicious savory-sweet flavor and can be added to a variety of dishes to enhance the taste. Learn how to roast garlic like an expert and start elevating your favorite meals!
I am a garlic LOVER. If you’ve never tried roasted garlic before you are in for a treat. I strongly believe that all one really needs to make a flavorful savory dish is garlic, olive oil, and salt.
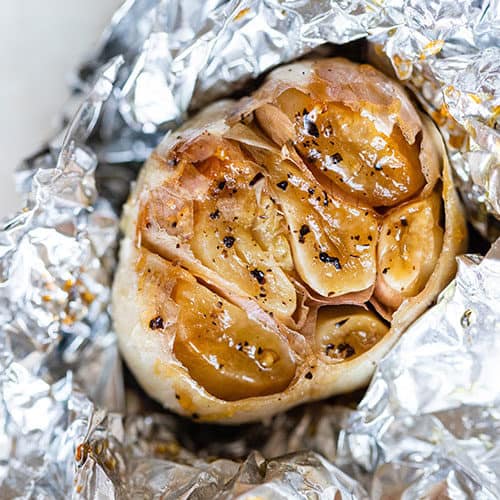
Enjoying roasted garlic is an entirely different experience than eating raw or sautéed garlic. Roasted garlic is subtly sweet, so creamy and has an irresistible caramelized buttery taste. Nothing at all like the raw form of garlic, which has a bold and slightly bitter flavor.
Once you see how easy it is to make roasted garlic you are going to become addicted. You’re seriously going to want to add it to so many foods and recipes!
What You Need For Roasting Garlic:
- bulbs of garlic
- olive oil
- salt & pepper
- aluminum foil (see notes in recipe card for an alternative method)
How To Roast Garlic:
- Preheat the oven to 400 degrees F.
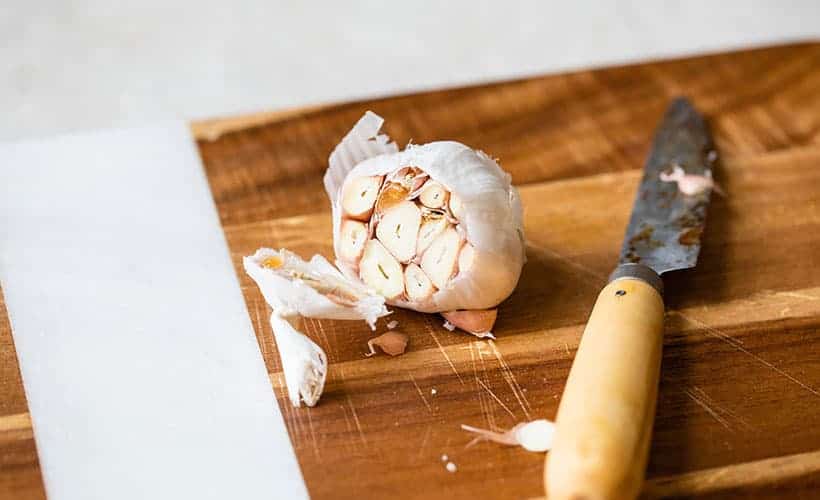
- Cut off the top inch of the garlic so that most of the bulbs are exposed.
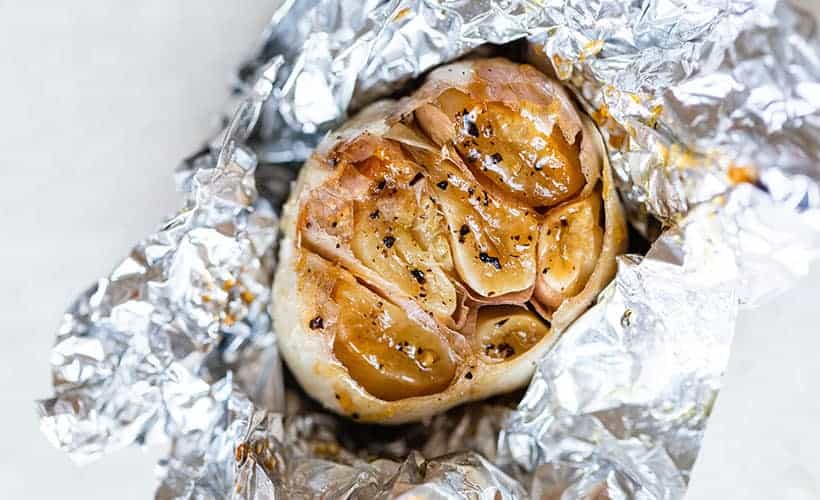
- Drizzle the bulb of garlic with olive oil and season it with salt and pepper.
- Wrap the entire bulb in a piece of foil and place it on a rimmed baking sheet or into a shallow baking dish.
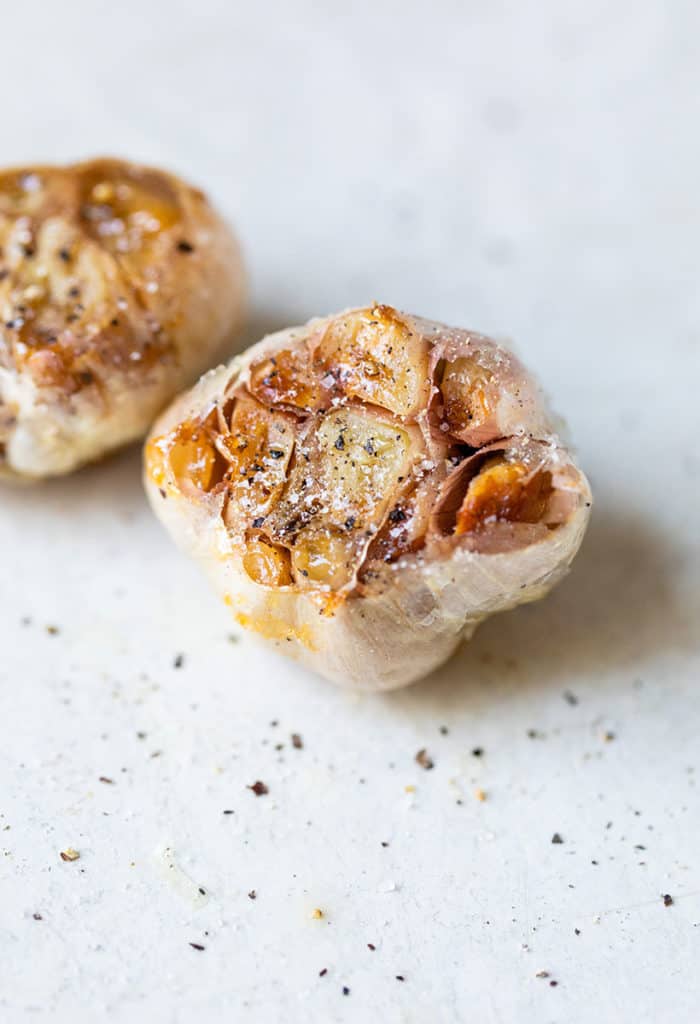
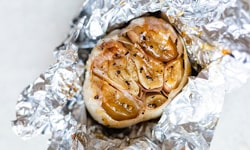
- Roast in the oven for 30-40 minutes and until garlic is golden brown and softened.
Allow the bulbs to cool slightly and then you can squeeze out the individual cloves and enjoy them spread on toast or mash them to use in a variety of recipes.

Health Benefits Of Garlic:
Roasted garlic adds a lovely, rich depth of flavor to savory foods and dishes. But it can do so much more than act as a flavor enhancer! According to a variety of studies, garlic is a superfood that can help prevent heart disease, cancer, infections, and stroke when eaten on a regular basis (Source: Healthline.com). Definitely worth enjoying garlic for so many reasons!
Ways To Enjoy Roasted Garlic:
Garlic is easy to add to your diet and will give so much flavor to sauces, soups and spreads. I love adding roasted garlic into salad dressing, hummus, and as the star ingredient in these mashed potatoes.
How do you enjoy roasted garlic? Do you have any favorite ways of using it in your kitchen?
Check Out Other Helpful How-To Tutorials:
- How To Make The BEST Oatmeal
- How To Make Cold Brew Iced Tea
- How To Cook Quinoa
- How To Make Almond Milk
I’d love to know if you make this (or any) recipe! Tag @clean_and_delicious on Instagram and be sure to subscribe to our mailing list to receive more healthy, delicious recipes straight to your inbox.
How-To Roast Garlic
Ingredients
- 1 bulb of garlic
- 1 teaspoon olive oil
- Salt and pepper to taste
Instructions
- Preheat oven to 400ºF. Cut off the top inch of the garlic bulb. You want to cut off enough of the top so that most, if not all, of the cloves are exposed.

- Drizzle garlic with the olive oil and season with salt and pepper. Wrap the entire bulb in a piece of foil and pop on a rimmed baking sheet or into a shallow baking dish.
- Place garlic in the oven and roast for about 30-40 minutes or until the garlic is golden brown and nice and creamy.


Comments
Kiran says
I’m a huge fan of garlic, but have yet to try roasting. Love your video, and congrats mama to be 😉
Aly says
Hi Dani! You look so lovely. Pregnancy agrees with you! So my question is this: Will roasted garlic keep in the fridge for a few days? I never thought to make more than one head at a time but your video made me think that maybe I could. Anyway, thanks for all the great ideas and awesome recipes. I always look forward to them!!
Rhonda says
I love roasted garlic. OK, I love any garlic..but roasted is so creamy and fun to squeeze out of the cloves! We usually don’t season it before cooking- it just depends on what we’ll be using it for.
Kim says
Hi
This sounds great. I’ve yet to watch the video, but what do you use the roasted garlic for???
Melissa says
Dani you look so lovely! I never even let myself be photographed with either of my pregnancies, much less videotaped. 🙂
Roasted garlic is one of my absolute favorites! Funny, I just wrote a tip up for the “daily dabble” section of my website that talks about roasting and steaming garlic/shallots/onions. I will usually throw in an entire head of garlic when I make roasted chicken – sometimes done in foil like you do and sometimes I just throw in the individual cloves on top of the chicken itself. The garlic (and sometimes shallots or small onions) gets so so so so delicious and I will squeeze the creaminess out and spread it on the chicken or whatever other root veggies I have when eating dinner. It adds an interesting dimension of flavor. The only downside is my husband isn’t always in the mood for garlic (I am never NOT in the mood for garlic) so he refuses to sleep in the same room with me when I do this and he hasn’t eaten any. Sucks to be him. 😉
mary lou johnson says
I love garlic but I have never figured out what to do with it after it’s roasted. How do you store the remainder after you have used what you needed?
Dani says
You can just store it in the fridge in an airtight container until you are ready to use more. IT’s great in salad dressings or as a spread for sammies.